Show Seconds in System Clock on Windows 11 [5 Steps]
You can tweak the registry or run commands in CMD
- Microsoft doesn't show you seconds in the system clock on the taskbar at the bottom.
- You can enable it by running a command in Windows PowerShell.
- Else, you can use a dedicated tool and easily enable seconds in the system clock.
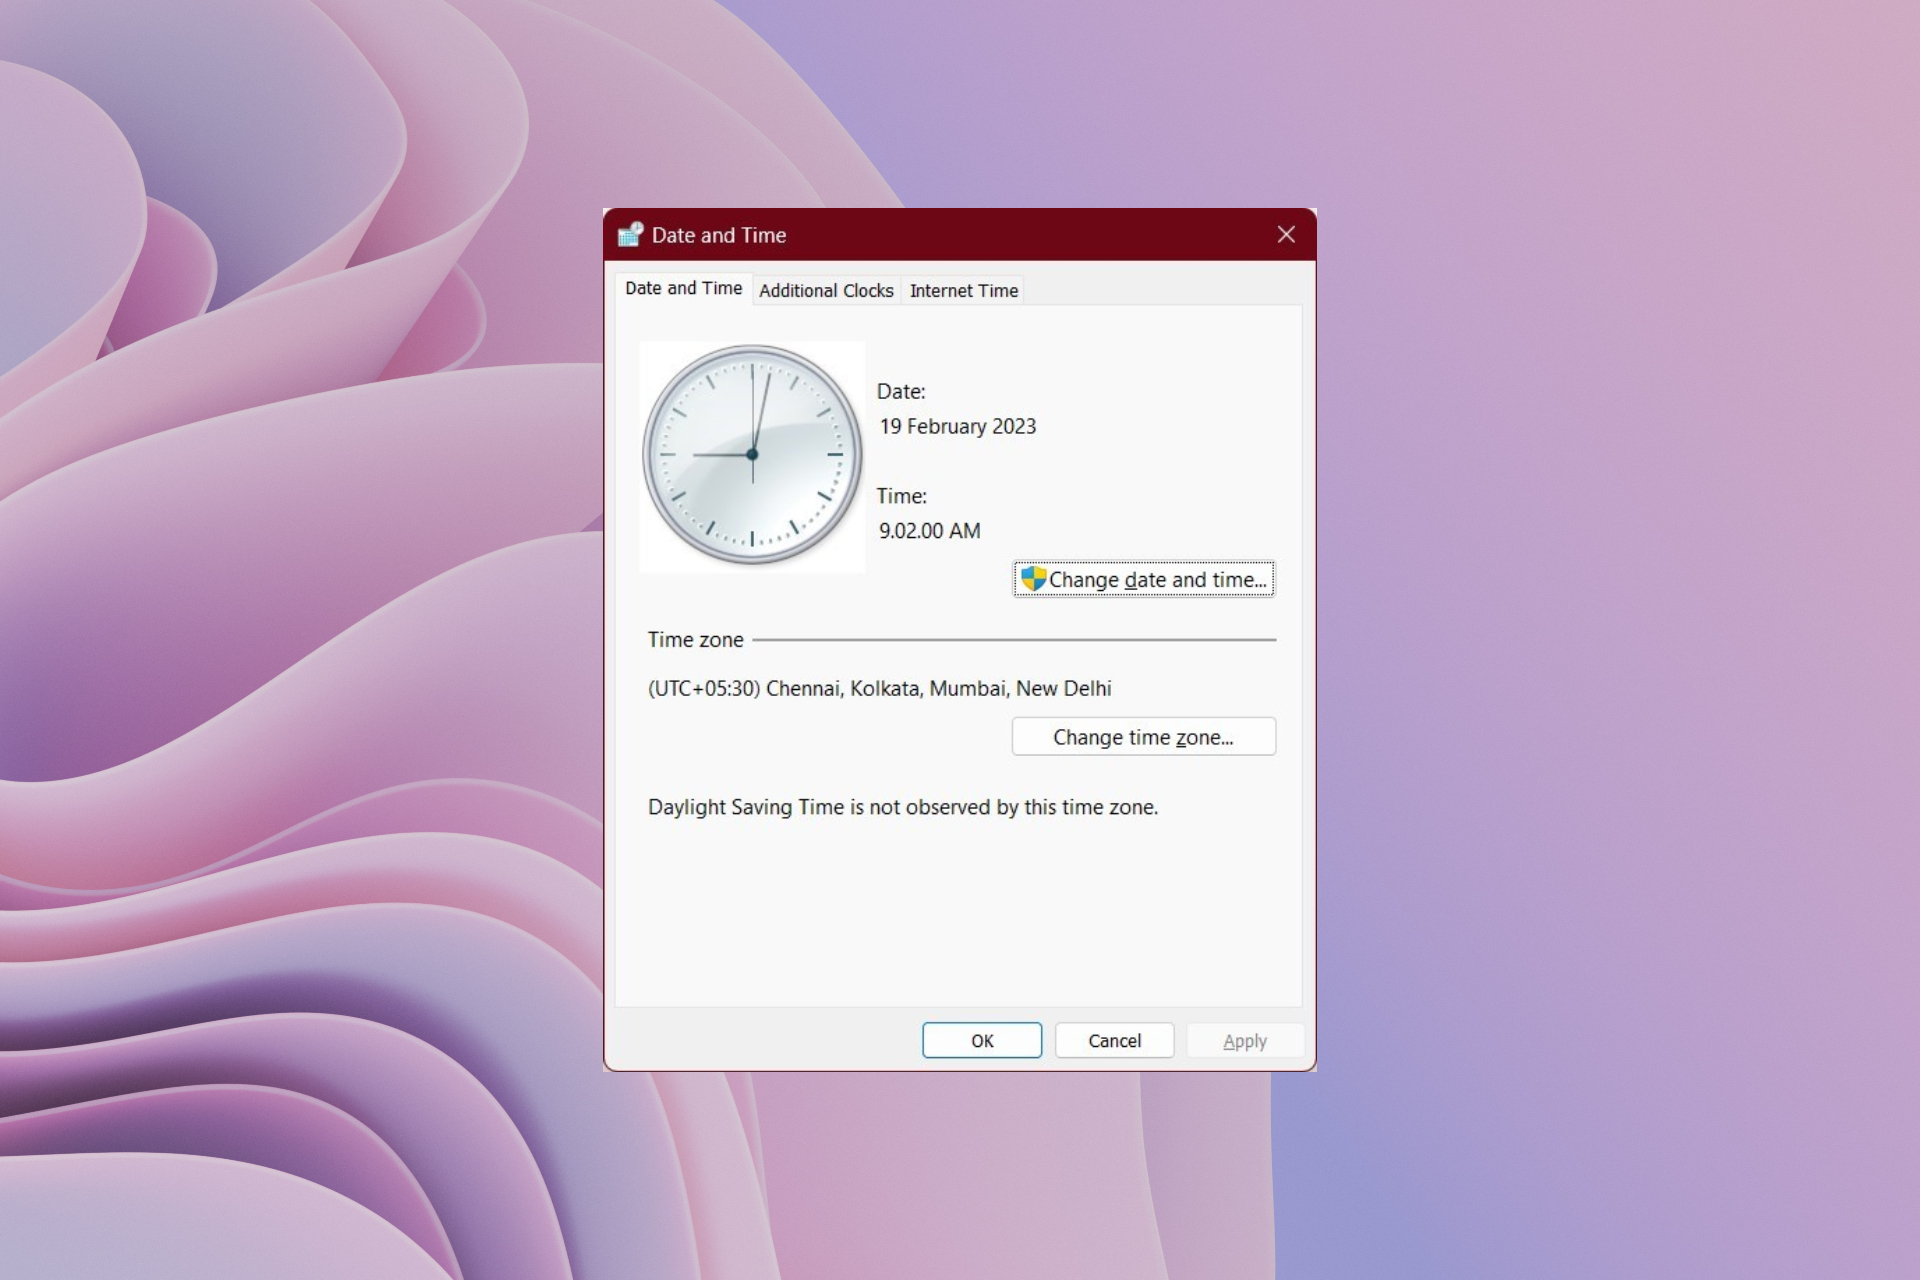
Windows 11 system clock does not show the seconds. Also, it doesn’t have any option to add seconds to it. This is similar to the previous version of Windows. Microsoft even explained in detail why it did not add the seconds in the Taskbar clock.
As per Microsoft, the main reason why seconds aren’t there on the Taskbar clock is that it eats up resources. But not everyone aims to save battery life and is using older PCs. So in this guide, we will explain how you can show seconds in the system clock Windows 11.
How can I show seconds in the system clock on Windows 11?
1. Show clock via Settings (Insider Build 25247 and above)
- Press the Win + I keys to open the Settings menu.
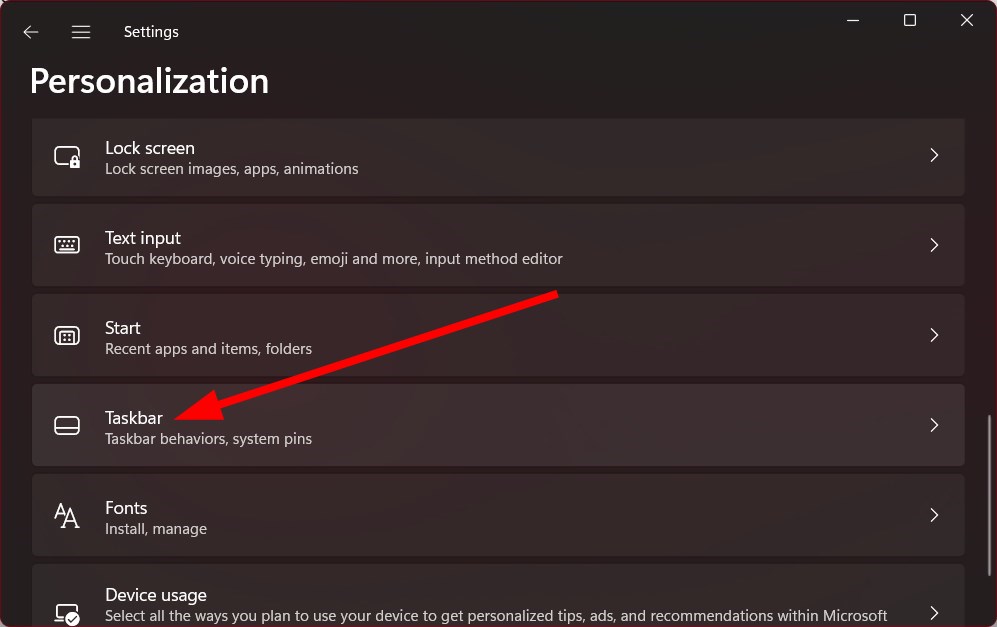
- Click on Personalization on the left.

- Select Taskbar on the right side.
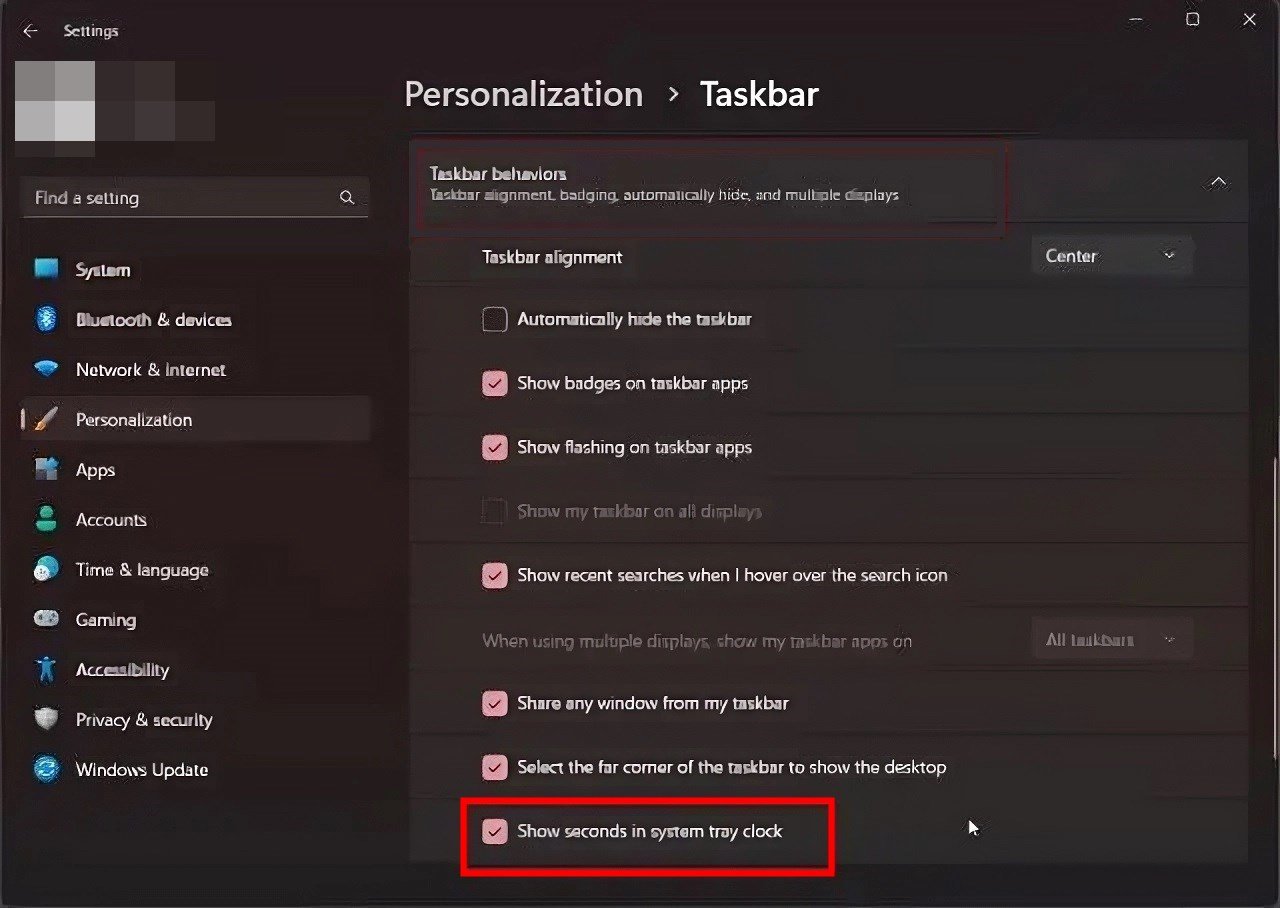
- Scroll down and select Taskbar behaviors.
- Check the box for Show seconds in system tray clock.


2. Use Registry Editor
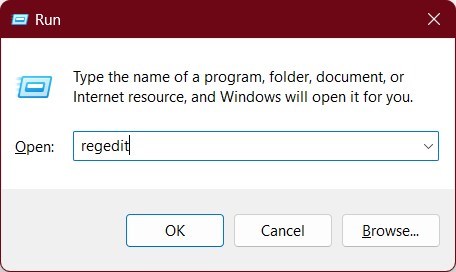
- Press the Win + R keys to open the Run dialogue.
- Type regedit and press Enter.

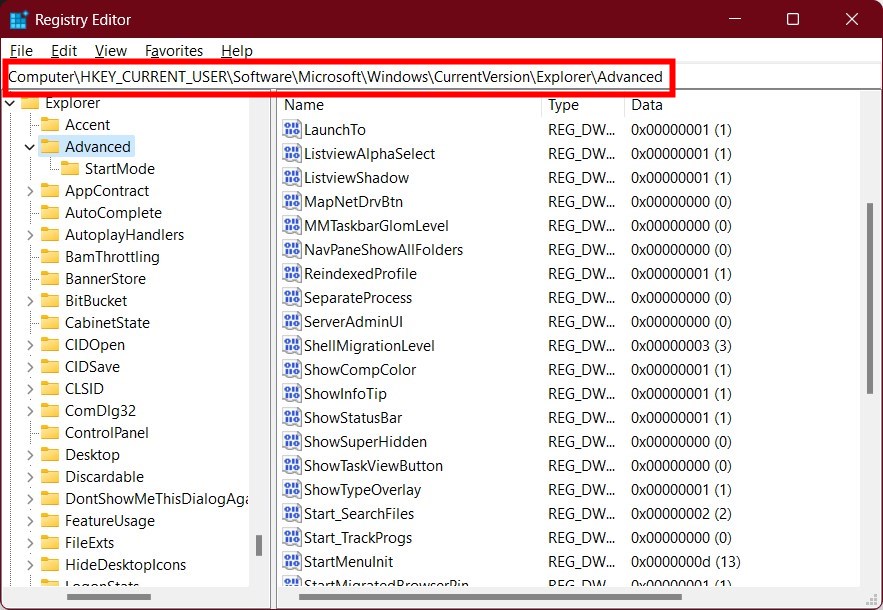
- Navigate to the below path.
Computer\HKEY_CURRENT_USER\Software\Microsoft\Windows\CurrentVersion\Explorer\Advanced
- Locate the ShowSecondsInSystemClock entry.
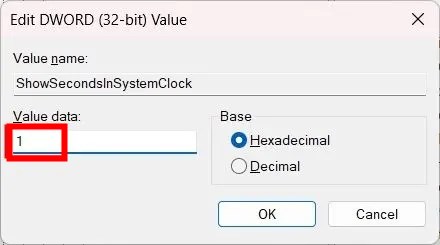
- Double-click to open it.
- In the Value data field, type 1.

- Click OK.
- Close Registry Editor.
- Restart your PC for the changes to take effect.
Tweaking the registry incorrectly could also cause your system to crash. Because of this, we would advise you to create a backup and then tweak the registry.
We have a guide to help you fix a corrupt registry in Windows 10. You can also check out our guide, which will help you restore the Windows registry without a backup.
3. Use Windows PowerShell
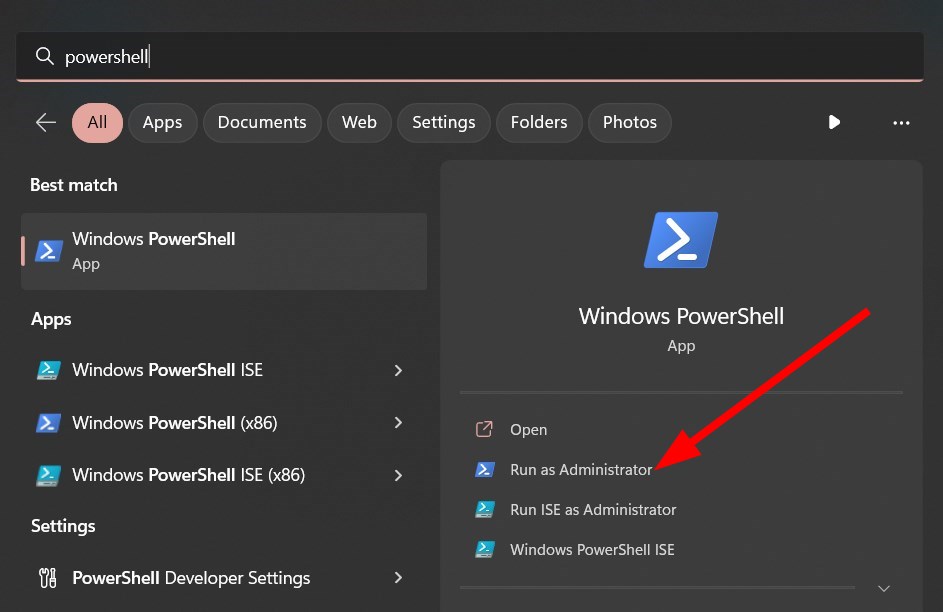
- Press the Win key to open the Start menu.
- Open Windows PowerShell as an admin.

- Type the below command and press Enter.
Set-ItemProperty -Path HKCU:\Software\Microsoft\Windows\CurrentVersion\Explorer\Advanced -Name ShowSecondsInSystemClock -Value 1 -Force
- Restart your PC.
When you run the above command, it will change the value of the ShowSecondsInSystemClock to 1. This will show seconds in the system clock in Windows 11.
To disable the seconds in the system clock, all you need to do is change the value of the ShowSecondsInSystemClock in the above command to 0.
Also, you can run the above command in Command Prompt or Windows Terminal apart from using Windows PowerShell.
4. Use the Run dialogue
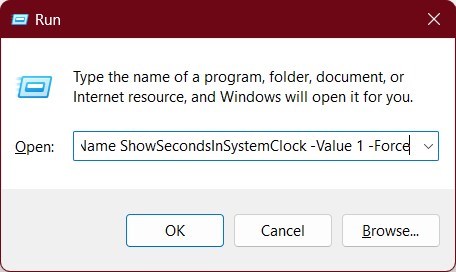
- Press the Win + R keys to open the Run dialogue.
- Type the below and press Enter.
cmd /c powershell.exe Set-ItemProperty -Path HKCU:\Software\Microsoft\Windows\CurrentVersion\Explorer\Advanced -Name ShowSecondsInSystemClock -Value 1 -Force - Restart your PC.
The above command you will run on the Run dialogue will force the PC to show seconds in the system clock in Windows 11.
5. Use a dedicated software
- Download the ElevenClock software.
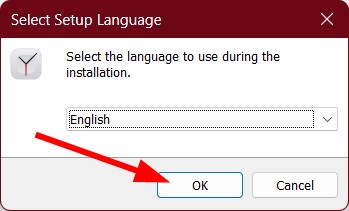
- Open the EXE file and run it on your PC.
- Click OK.

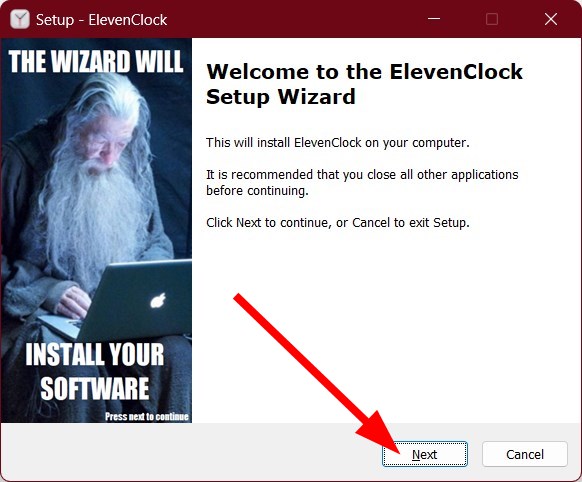
- Click Next.

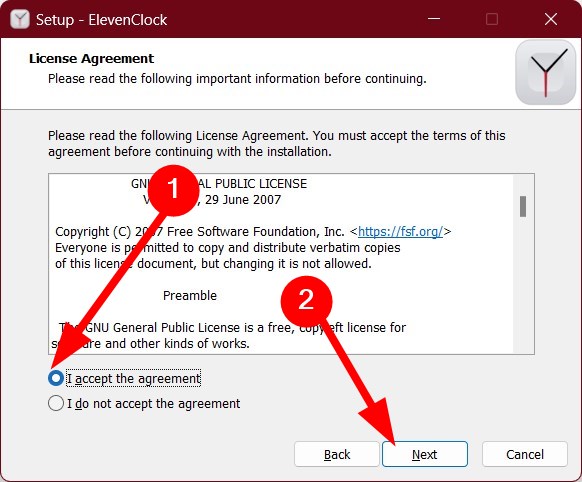
- Accept the license agreement and hit the Next button.
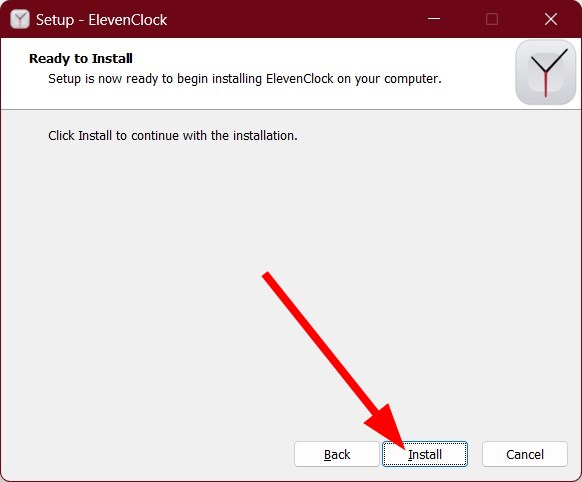
- Select Install.
- Click Finish once the installation completes.
- Launch the program.
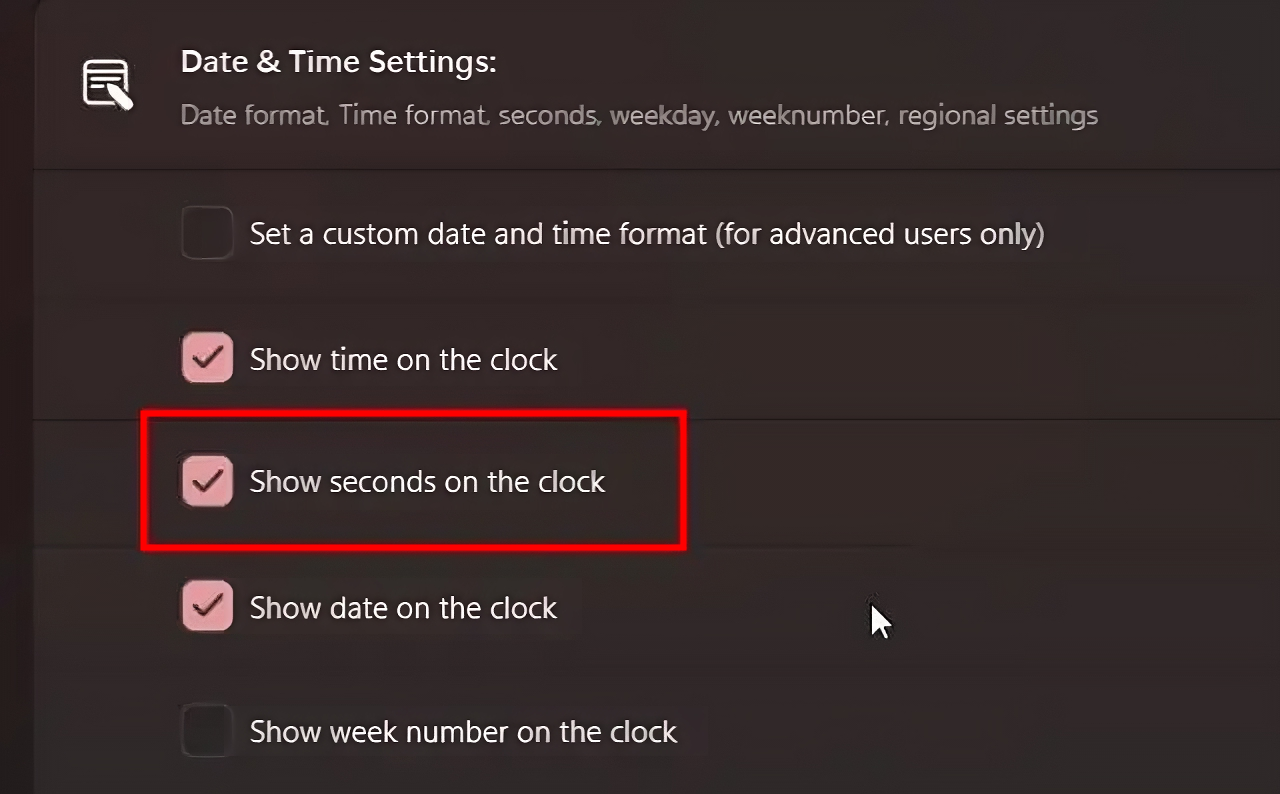
- Expand the Date and Time Settings.
- Check the box for the Show seconds on the clock option.

You can tweak multiple settings to change the clock’s appearance, position the clock, and other stuff related to the ElevenClock.
That is it from us in this guide. These are the best ways to show seconds in the system clock on a Windows 11 PC.
We have a guide that will help you fix if the clock on your PC is running behind. There are 4 effective ways mentioned in the guide that will help you fix the issue.
Also, a dedicated guide will help you show seconds on the system clock on a Windows 10 PC, which you should also check out.
We have listed some of the best alarm clock apps to try and keep up with your tasks on time for your PC.
In the comments below, let us know which of the above solutions worked for your Windows 11 PC.
Still experiencing issues?
SPONSORED
If the above suggestions have not solved your problem, your computer may experience more severe Windows troubles. We suggest choosing an all-in-one solution like Fortect to fix problems efficiently. After installation, just click the View&Fix button and then press Start Repair.