How to Add Text in The Snipping Tool [Quickest Ways]
You need third-party apps to insert texts with the Snipping tool
- The Snipping tool in Windows PC allows users to take screenshots of their screen and extract content from them.
- There is no feature for inserting texts in the Snipping tool, resulting in users employing other Windows tools.
- Users can add text in the Snipping tool using the Windows Paint app and PowerPoint.
The Snipping tool is a feature that comes with most Windows computers. The program allows you to create images of the desktop screen and snapshots and copy words or images from all or part of your PC screen.
However, users can’t add text to the Snipping tool. Hence, this article will discuss inserting text in the Snipping tool. Also, you may read our guide about what to do if Snip and Sketch is not working on Windows 11.
Can you edit in the Snipping Tool?
The Snipping tool allows users to capture or take a screenshot of all or an area of their PC screens to copy words or images. It uses drag and drop and many other features that are not common to other tools.
However, the Snipping tool lets users edit the content on their PC screen and make changes or notes they can save and share with other users. It allows you to make marks around images, inscriptions, and others.
Moreover, the only downside is that users can’t insert text in the Snipping tool because the add text editing option is not officially available in the program. Fortunately, there are some ways to insert texts in the Snipping tool.
There aren’t any features for adding texts in the Snipping tool, but we’ve devised some easy ways to get around that. Follow the steps below.
How do I add text in the Snipping tool?
1. Insert text in the Snipping tool using the Windows Paint app
- Press the Windows + Shift + S shortcut keys to open the Snipping Tool on your PC.
- Click and drag the mouse to select a snipping area on your screen, and a prompt saying Snip saved to clipboard will appear.

- Left-click the Start button, type Paint in the search box, and open the app.
- Press the Ctrl + V keys to paste the saved Snip screenshot.
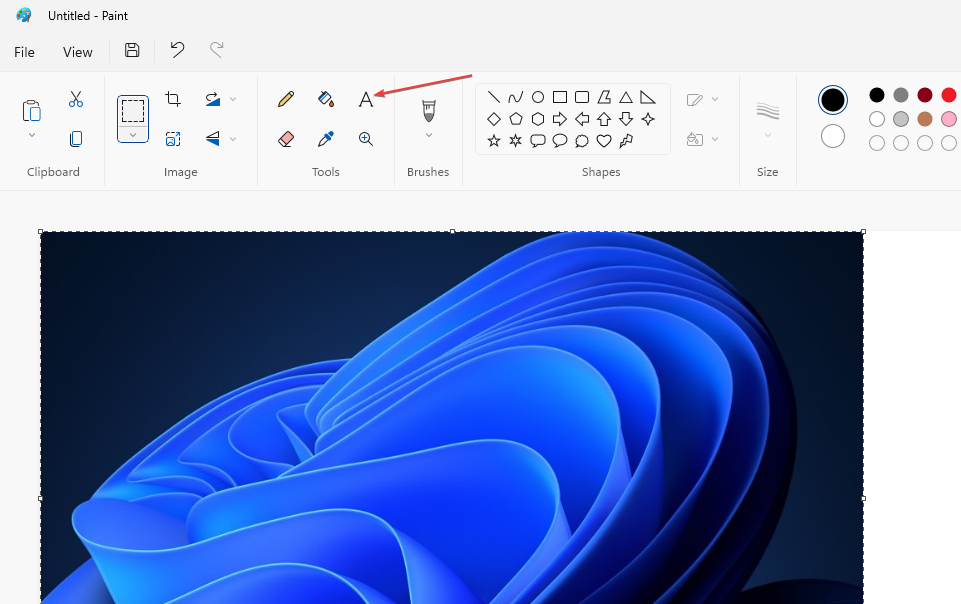
- Click on the Home tab in the top bar of the Paint app.
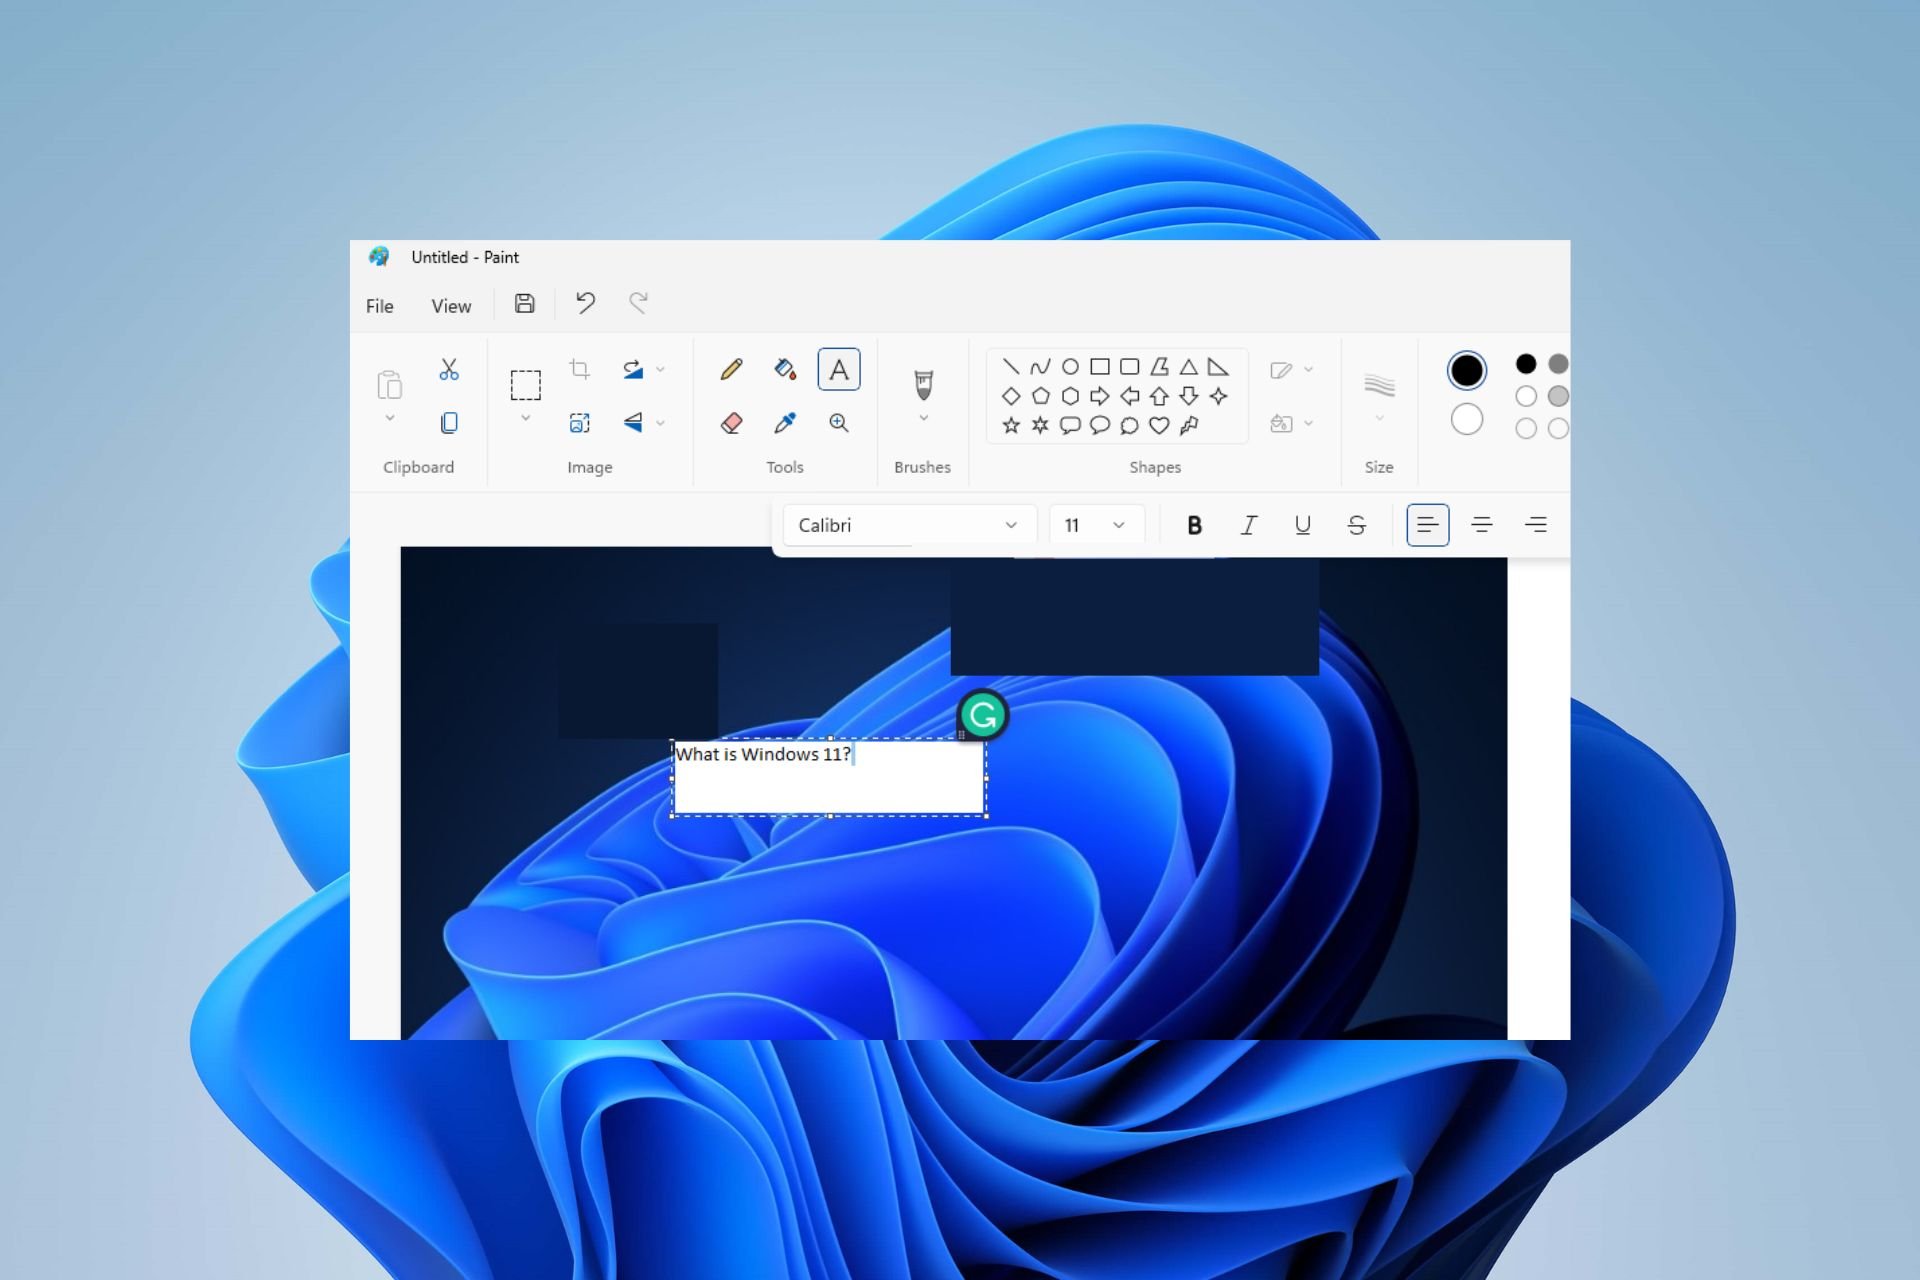
- Tap on the A icon in the Tools section of the top bar, and you’ll see the Text icon.

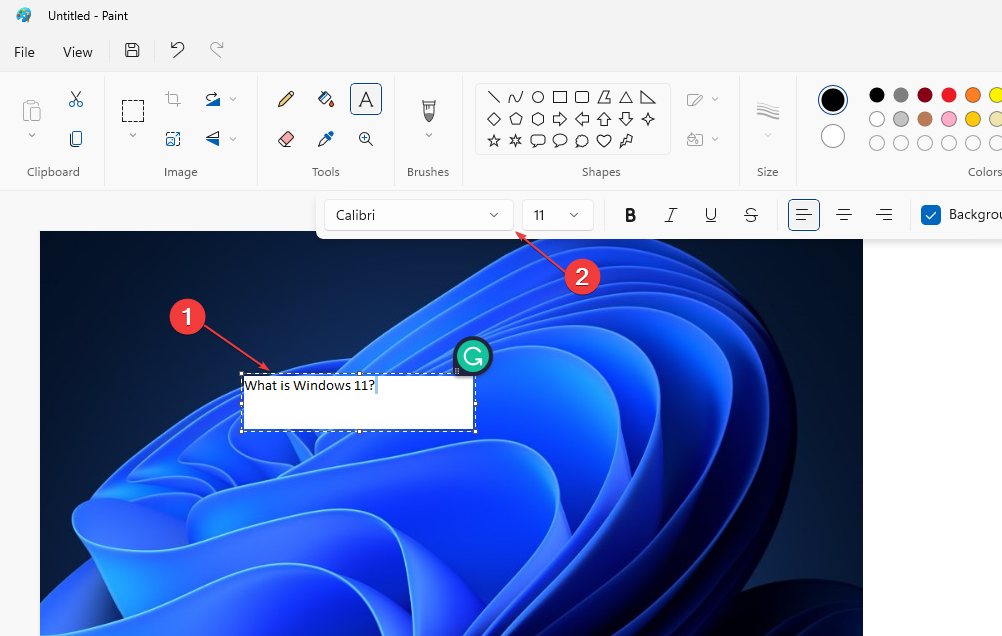
- Select the area you want to insert text into on the screenshot and start typing.
- Click and drag the text box to move it around on the image.
- Edit and change text font, color, and other attributes of texts by clicking the Text icon.

- Click any space when you’re done inserting the text.
- Press Ctrl + S to save the image, or use the Snipping Tool to take a screenshot of the image, depending on your choice.

Expert tip:
SPONSORED
Some PC issues are hard to tackle, especially when it comes to corrupted repositories or missing Windows files. If you are having troubles fixing an error, your system may be partially broken.
We recommend installing Restoro, a tool that will scan your machine and identify what the fault is.
Click here to download and start repairing.
The Windows Paint app allows you to insert text in the Snipping tool and edit other text features like font, color, and size. So, the Paint app is the best option for adding text to the Snipping tool.
Read our guide on what to do if you can’t find the Snipping tool on your Windows PC.
2. Insert text in the Snipping tool using the PowerPoint tool
- Press the Windows + Shift + S shortcut keys to open the Snipping Tool on your PC.
- Click and drag the mouse to select a snipping area on your screen, and a prompt saying Snip saved to clipboard will appear.
- Left-click the Start button, type PowerPoint in the search box, and open the app.
- Press the Ctrl + V shortcut to paste the snip to the slide in PowerPoint.
- Go to the Insert tab at the top bar and click Text Box in the Text section.

- Select the area you want to insert text into on the screenshot and start typing.
- Go to the Home tab to edit the text’s color, size, font, and other attributes.
- Click any space when you’re done inserting the text.
- Press Ctrl + S to save the image, or use the Snipping Tool to take a screenshot of the image, depending on your choice.

PowerPoint is another innovative tool for inserting texts in the Snipping tool. Users can use many features to edit text fonts, art, colors, etc.
Check our guide on what to do if Snipping Tool does not copy to clipboard on Windows 11.
Check for tips on fixing the Snipping tool shortcut (Windows + Shift + S) not working if it’s unresponsive on your PC.
Conclusively, users with recurring issues with the Snipping tool can read our guide on reinstalling the Snipping Tool on Windows.
Still having issues? Fix them with this tool:
SPONSORED
If the advices above haven't solved your issue, your PC may experience deeper Windows problems. We recommend downloading this PC Repair tool (rated Great on TrustPilot.com) to easily address them. After installation, simply click the Start Scan button and then press on Repair All.