Start PXE Over IPV4: How to Fix This Boot Issue
Change the boot priority order in your PC's BIOS to fix this issue.
- The Start PXE over IPv4 message appears when the system can access the hard disk or any other boot device.
- It means the system has initiated the PXE over IP option that allows it to boot from a network source, using an IPv4 network.
- You can fix the issue by changing the boot priority order and by disabling the PXE boot option in the system’s BIOS settings.
Many Windows users have complained about experiencing a slow boot issue on their PC which a Start PXE always accompanies over IPv4 message. The error occurs during startup and can be persistent. However, this article will discuss the error message and how to fix it.
Alternatively, you may be interested in our post about what to do if you’re experiencing a slow boot on Windows 11 to make it faster.
What does it mean when it says Start PXE over IPv4?
In a computer, PXE over IP is the option that allows you to boot from a network source and is a setting in the BIOS. PXE (Preboot execution environment) allows the system to boot over an IPv4 network.
These IP addresses allow computers to start up faster than the traditional boot methods. However, they can cause problems with the boot order and result in Start PXE over IPv4.
Furthermore, seeing an error message saying Start PXE over IPv4 pops on your screen means the system fails to start or is having trouble sorting the boot order. In short, it indicates that other boot devices, like the hard disk, were not available to boot from. Thus, it initiates boot over the IPv4-based network.
Additionally, the boot error occurs due to the traditional storage parts the system boots from is not correctly configured or compromised. Also, you can encounter the Start PXE over IPv4 because of a wrong or reset boot priority order.
How can I fix Start PXE over IPv4?
1. Change the boot priority order
- Click the Windows button, select Power from the drop-down menu, then click on Restart to reboot the device.
- While the system restarts, repeatedly press the F1, F2, Del, Esc, F10, or F12 to open the computer’s BIOS setup utility. ( the key may differ depending on the PC manufacturer)

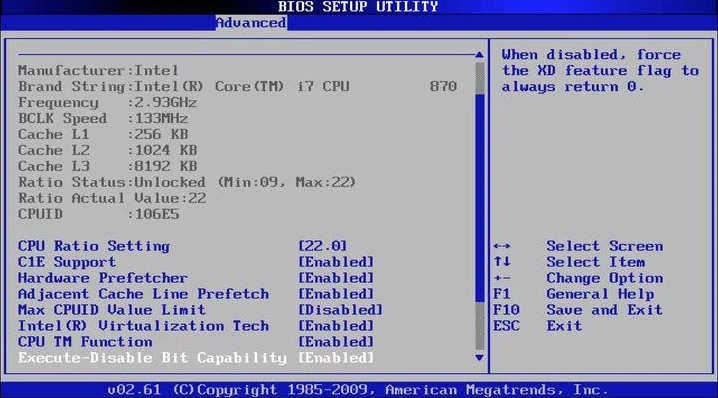
- Navigate to the Boot, Boot Options, Boot Sequence, or Advanced Options tab, depending on what your manufacturer calls it.

- Select the Hard disk or removable devices as the first boot device and press Enter.

- The computer will boot from the hard disk instead of a network source.


Choosing the hard disk as the first boot device places it at the top of the boot priority order, allowing the system to boot over the device rather than an IPv4 network.
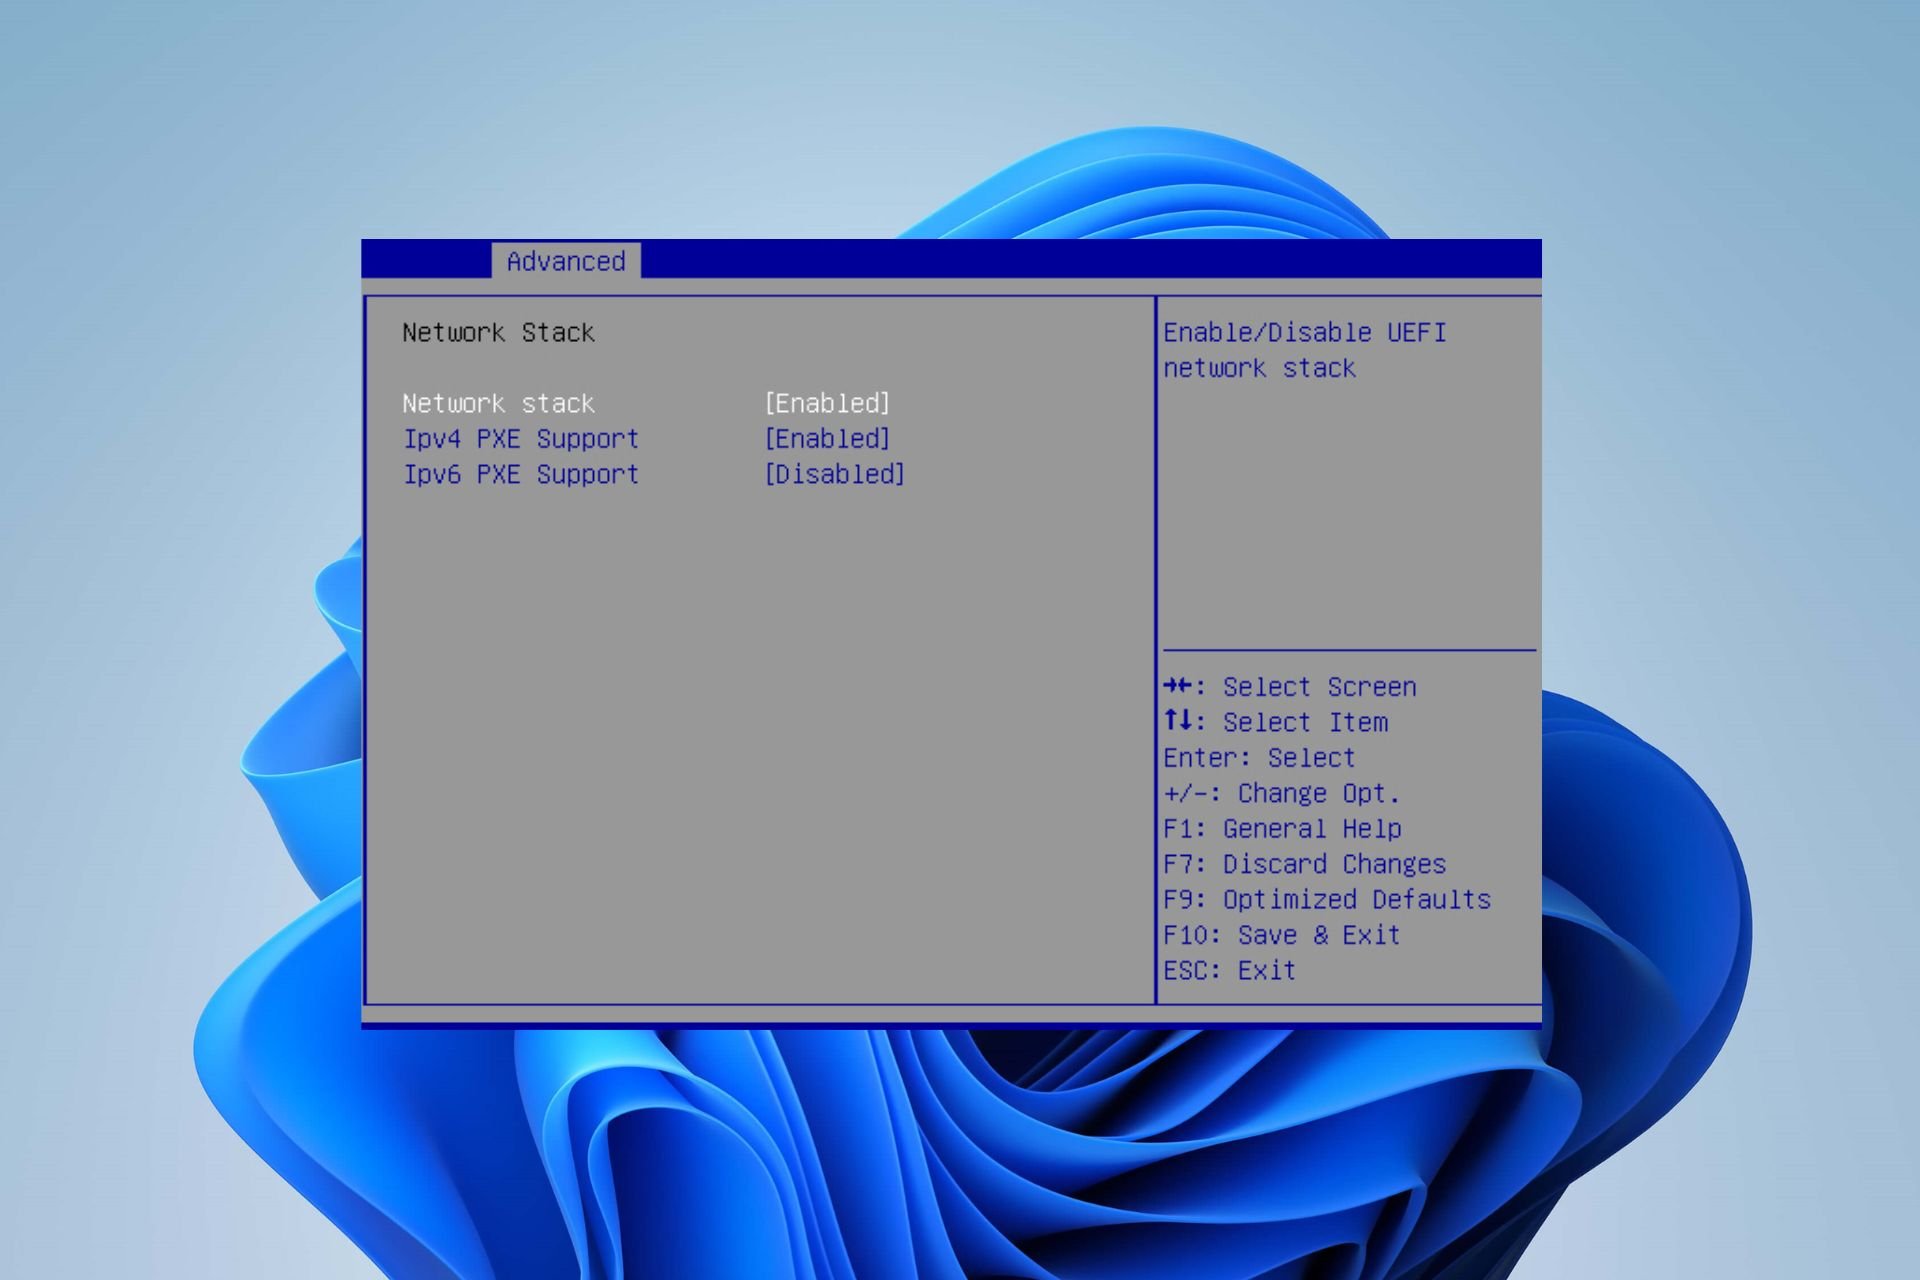
2. Disable PXE boot
- Press the Windows button, select Power from the drop-down menu, then click Restart to reboot the device.
- While the system restarts, repeatedly press the F1, F2, Del, Esc, F10, or F12 to open the computer’s BIOS setup utility.
- Click on the Advanced tab and find the Integrated Devices option.
- Go to the Network Stack option and set it to Disable on IPV4 or IPV6 support.

- Restart your PC and check if the start PXE over IPv4 message appears.
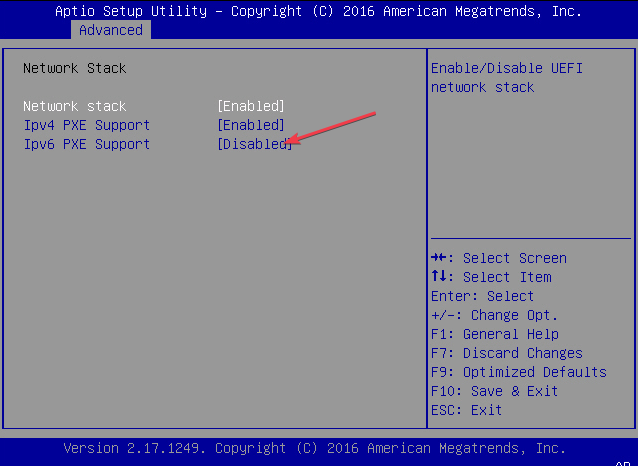
It will disable PXE boot, but the exact wording may differ in different systems depending on the manufacturer.
3. Update BIOS
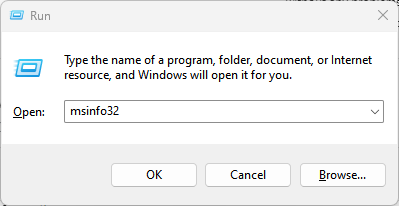
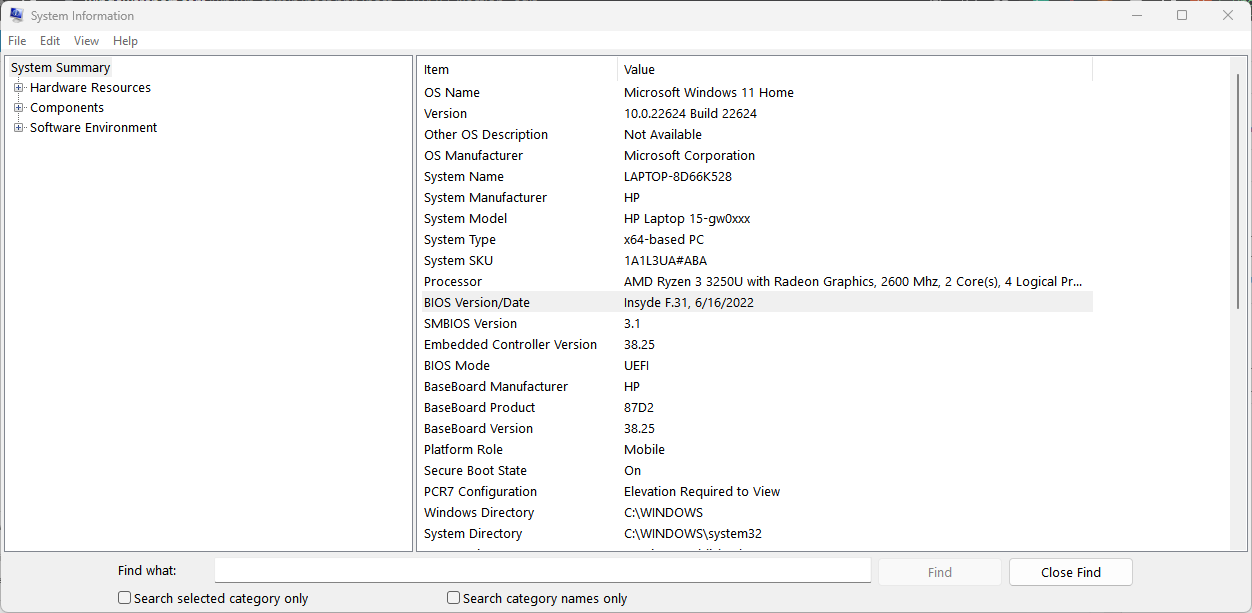
- Hit the Windows and R keys together, type msinfo32, and hit Enter.

- Locate your BIOS information from the listed options.

- Go to your manufacturer’s website to download the latest BIOS.
- Choose a laptop or desktop, depending on the type of computer you’re using. Then, enter your exact serial number or your exact computer model.

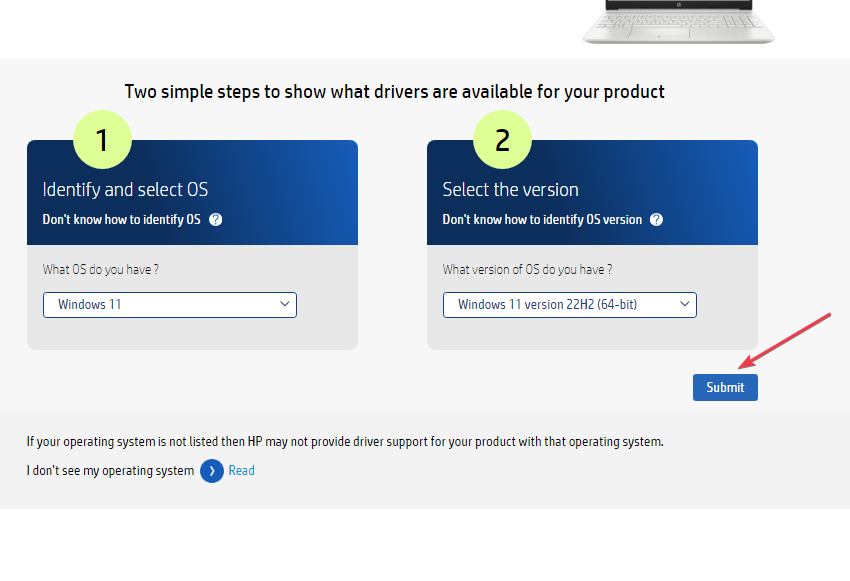
- Select your OS and OS version, then click Submit.

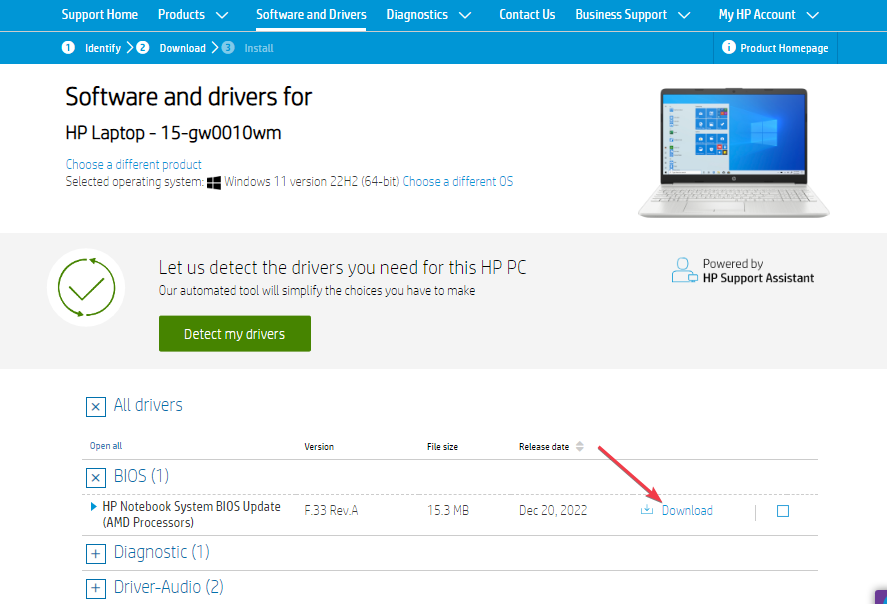
- Click Download on the latest BIOS.

- Install the .exe file, following the on-screen instructions, and restart your PC.
- During the startup, you can select Apply Update Now.

Likewise, you may be interested in our article on how to change boot order on your PC.
Feel free to drop comments if you have any suggestions or questions in line with our guide.
Still having issues? Fix them with this tool:
SPONSORED
If the advices above haven't solved your issue, your PC may experience deeper Windows problems. We recommend downloading this PC Repair tool (rated Great on TrustPilot.com) to easily address them. After installation, simply click the Start Scan button and then press on Repair All.