Recipient Address Rejected: Access Denied [Error Fix]
To fix this error, simply perform a DNS & TCP/IP reset
- To handle this error make sure all public folders are hosted on-premise.
- Performing a DNS & TCP/IP reset has proven to be effective in dealing with this issue.
When using Outlook to send emails, a common issue many people face is receiving the Recipient Address Rejected access denied error.
As per user feedback, the error message Recipient Address Rejected: access denied is often accompanied by codes 541 and 550.
The current subject matter shares similarities with a previous concern regarding Outlook has encountered an error, which we previously tackled in an extensive guide.
To tackle the matter at hand, we must explore its fundamental source.
What causes the Recipient address rejected access denied error?
This issue is usually caused by the following:
- Directory-based edge blocking – The DBEB feature allows administrators to effortlessly add mail-enabled recipients to their Microsoft or Office 365 accounts while preventing any messages from being sent to email addresses not registered within these systems.
- Anti-spam filters – Automatically sorting suspected spam emails into the Junk Email folder is a feature that can be enabled. Furthermore, any malware, which refers to potentially damaging software or code, is effectively disabled.
- DNS cache – The DNS server cache prevents users from receiving and sending emails.
How can I fix the Recipient address rejected: Access denied error?
1. Perform a DNS & TCP/IP reset
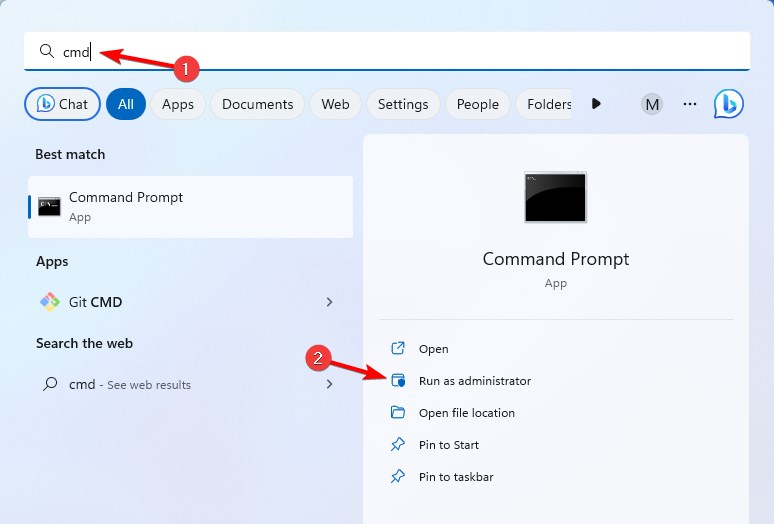
- Type cmd in the Search, right-click the Command Prompt, and choose Run as administrator. Then click on Yes when you are prompted by the UAC window.

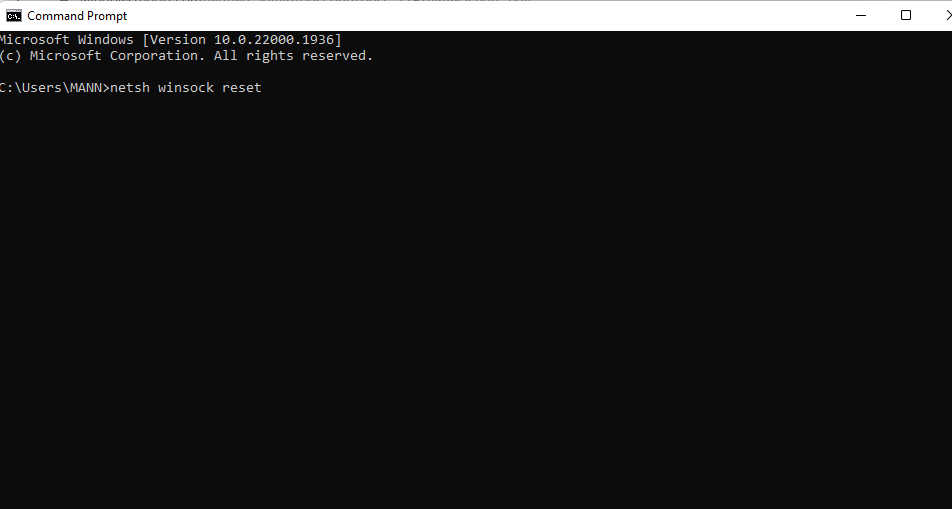
- In the elevated Command Prompt window, type the following commands in order and hit Enter after each one:
ipconfig /flushdns
nbtstat -R
nbtstat -RR
netsh int reset all
netsh int ip reset
netsh winsock reset
- After finishing the task, you may want to attempt resending the email to the recipient and check if it goes through successfully.
After doing that, check if Recipient Address Rejected access denied error is gone.
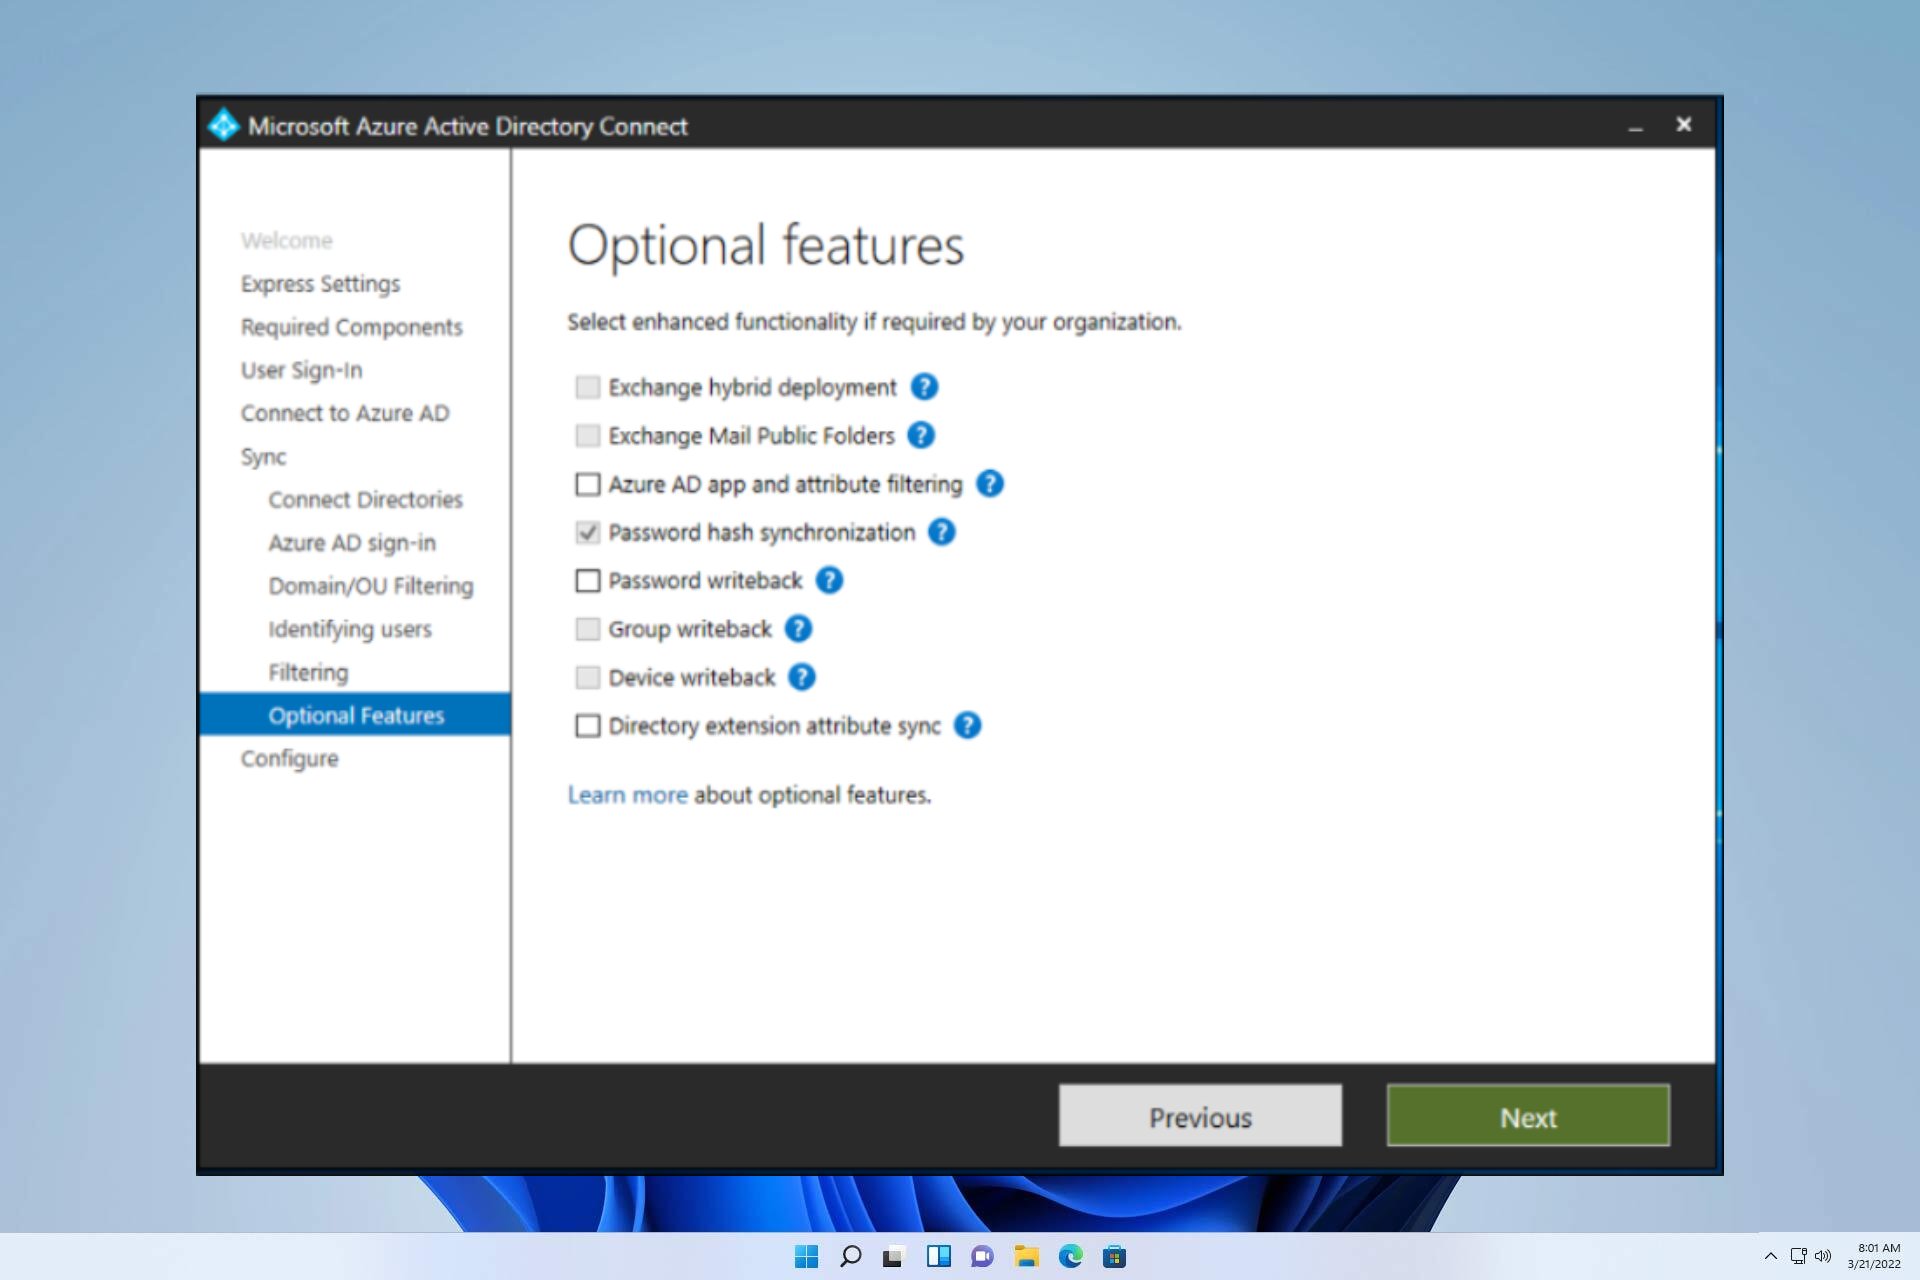
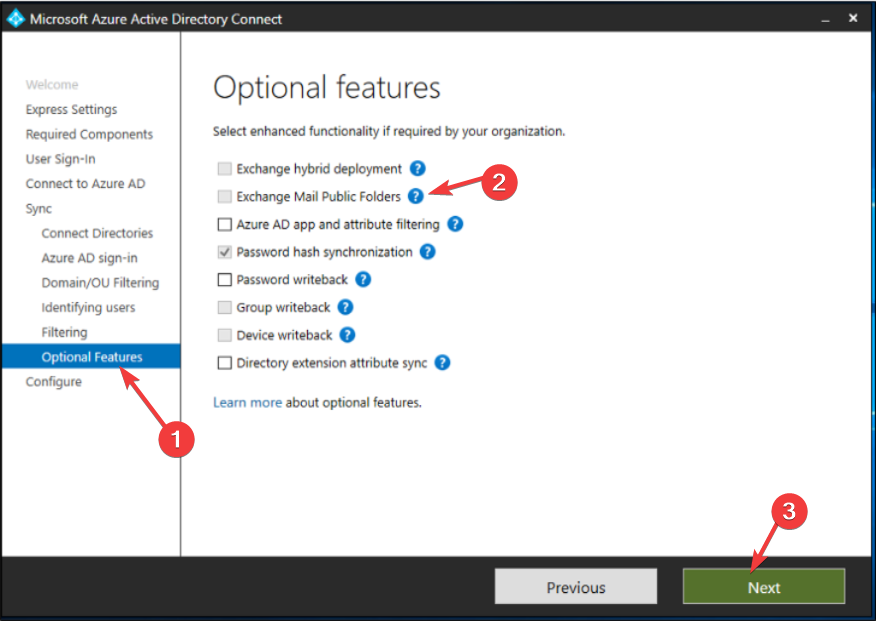
2. Be certain all public folders are hosted on-premise
- Open the Microsoft Azure Active Directory Connect screen.
- Choose Optional Features from the left vertical menu and select the checkbox for Exchange Mail Public Folder from the right-hand panel.

- Click on Next to save the changes. Now, you can send the email again and see if the 550 permanent failure for one or more recipients error gets solved.
After doing this, the problem should be gone.
3. Deactivate DBEB
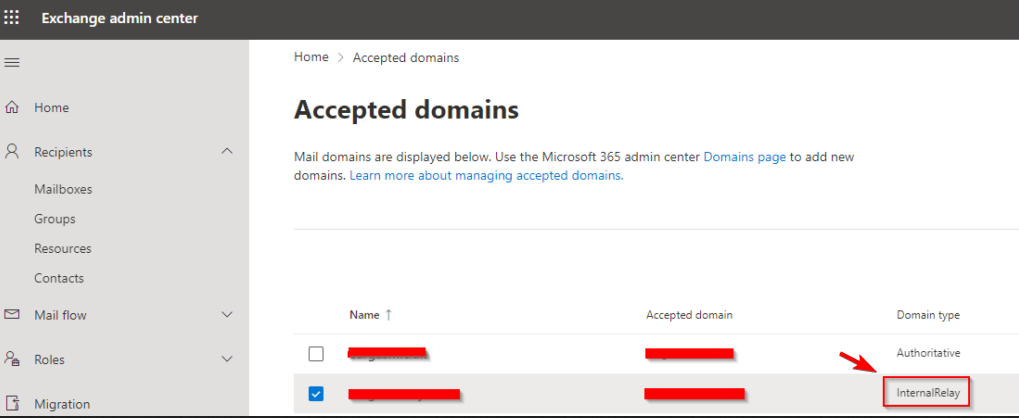
- Sign in to Exchange Online, and access the accepted domains tab from the Mail flow section.
- Now click Edit beside the root domain of your public folder.
- Next, to disable DBEB, select the Internal relay domain option from the This accepted domain is section and select Save.

We hope that this guide has successfully resolved your issue. If you encounter any further obstacles, we recommend exploring how to fix Outlook error 0x80040610, as it may provide comparable solutions.
We highly appreciate your valuable input regarding the most effective solution you have come across. Kindly share your insights with us by leaving a comment below.