4 Ways to Map a Network Drive in Windows 10
Simple ways to map a network drive for easy file access
- Mapping a network drive is actually quite easy to do.
- There are different ways to do it; be it through the Command Prompt or PowerShell.
- You will, however, need to make your computer has the right settings enabled.
Say you need to gain access to a specific folder on another computer. You can always walk over to that other machine and get the files, but why do that when you can connect the drive to your own computer.
Mapping a network drive may sound complicated, but it isn’t. It’s quite simple, and there are multiple ways to do it.
Why is map network drive not showing up in Windows 10?
You may be someone who tried mapping a network drive at some point only for Windows 10 not to recognize it. So what gives? Well, there are a couple of reasons why.
- You have the wrong settings – In the Control Panel, Network Discovery must be turned on otherwise, the drives won’t appear.
- UAC is blocking the network drive – User Account Control, or UAC, has been known to block what it thinks is malicious, so you may need to disable it.
How can I map my network drive on Windows 10?
Before you go on and map your network drive on Windows 10, there are a couple of things you should do first:
- Restart your computer.
- Make sure you have access to a drive in a network.
- If you don’t have access, contact your network administrator.
Required changes to make before mapping a network drive
1. Disable User Account Control
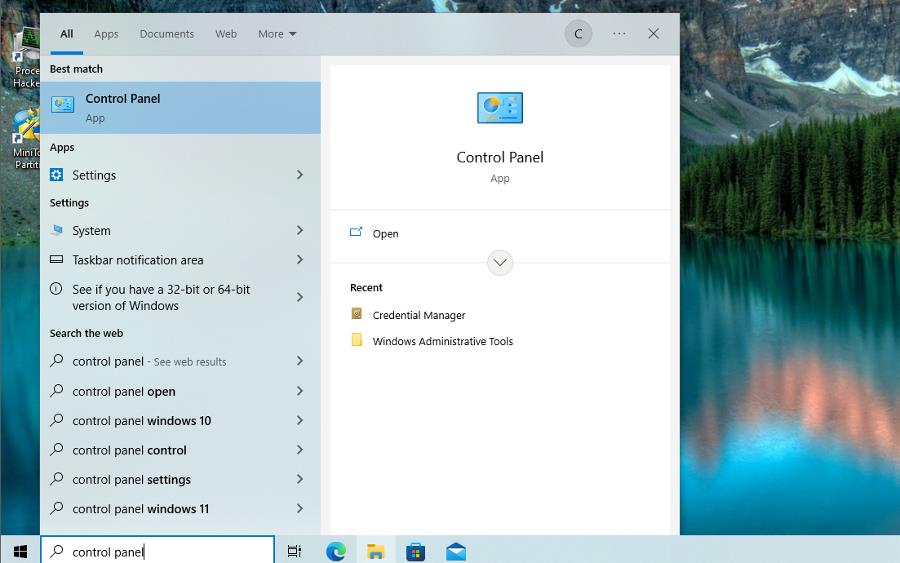
- In the Windows 10 search bar, type in control panel and click Control Panel when it appears.

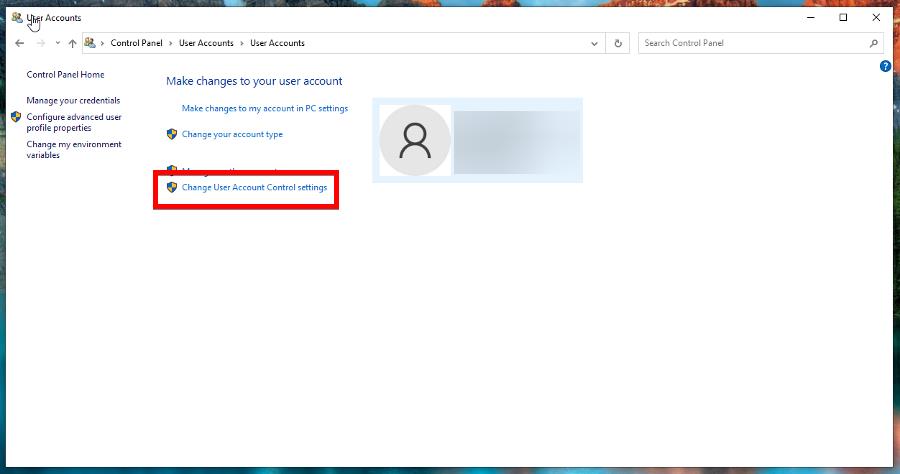
- Click User Accounts.

- Then, select User Accounts again on the following page.

- Now select Change User Account Control settings.

- Drag the slider down to the bottom and click OK.


2. Enable network discovery
- In the Windows 10 search bar, type in control panel and click Control Panel when it appears.
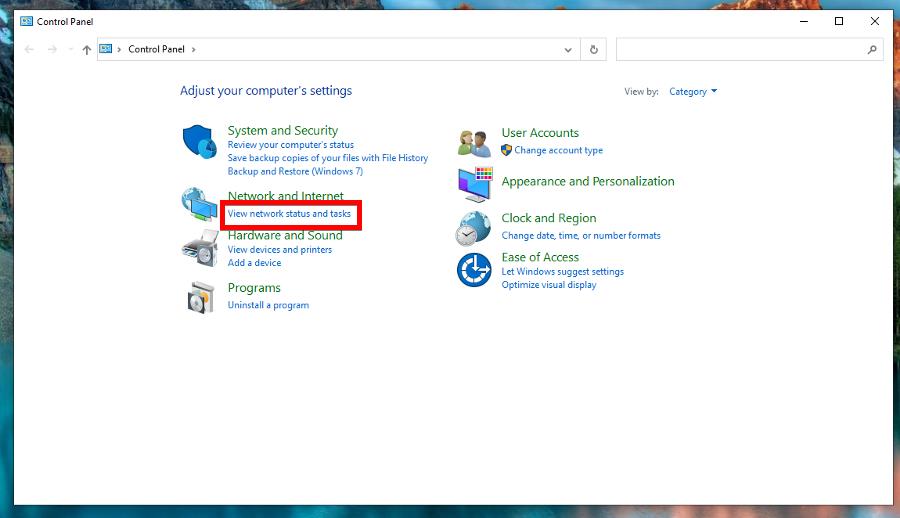
- Select View network status and tasks under Network and Internet.

- On the following page, select Change advanced sharing settings.

- Expand the Private section. Click the bubble next to Turn on network discovery.

- Finish up by clicking the Save changes button at the bottom.


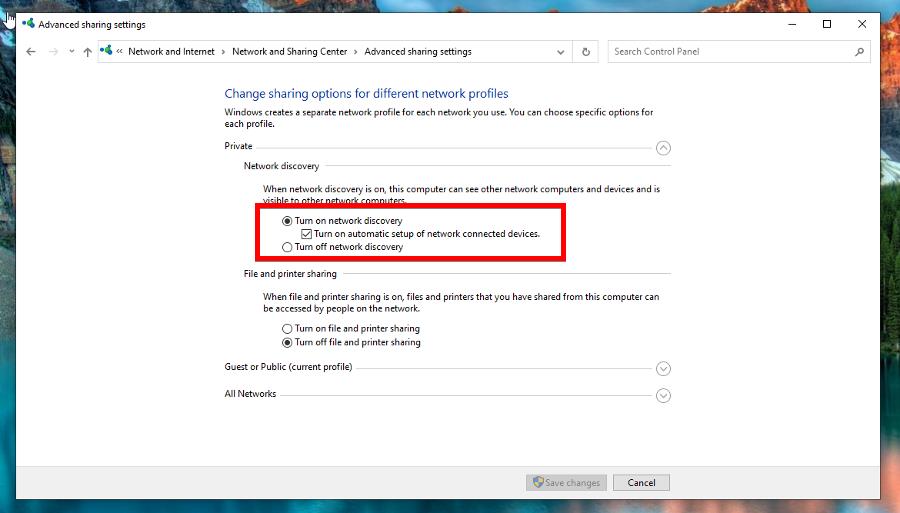
You must perform this step first. If network discovery isn’t turned on, none of the mapping methods will work.
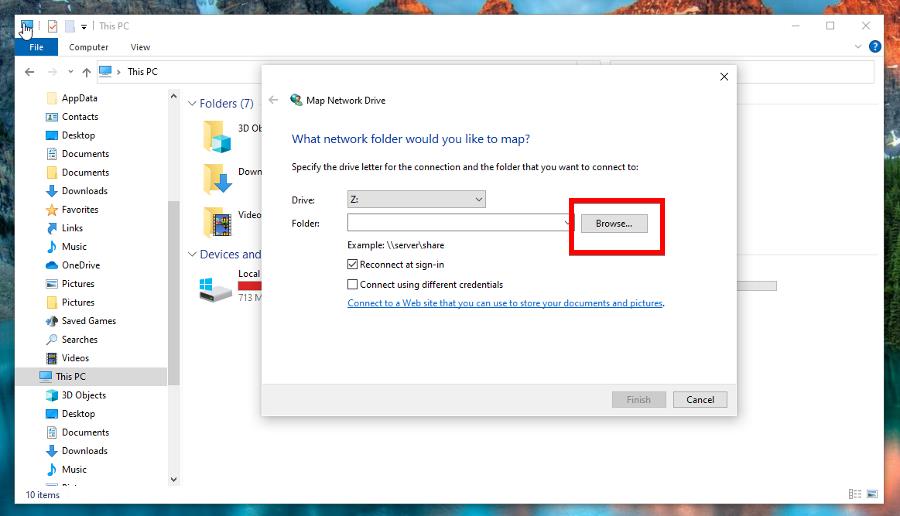
1. Map a network drive via File Explorer
- Launch the File Explorer, which you can do by either selecting the taskbar icon or by hitting the Windows and E keys at the same time.
- Click This PC on the left-hand side.

- Select the Computer tab at the top, and in the drop-down menu that appears, click Map network drive.

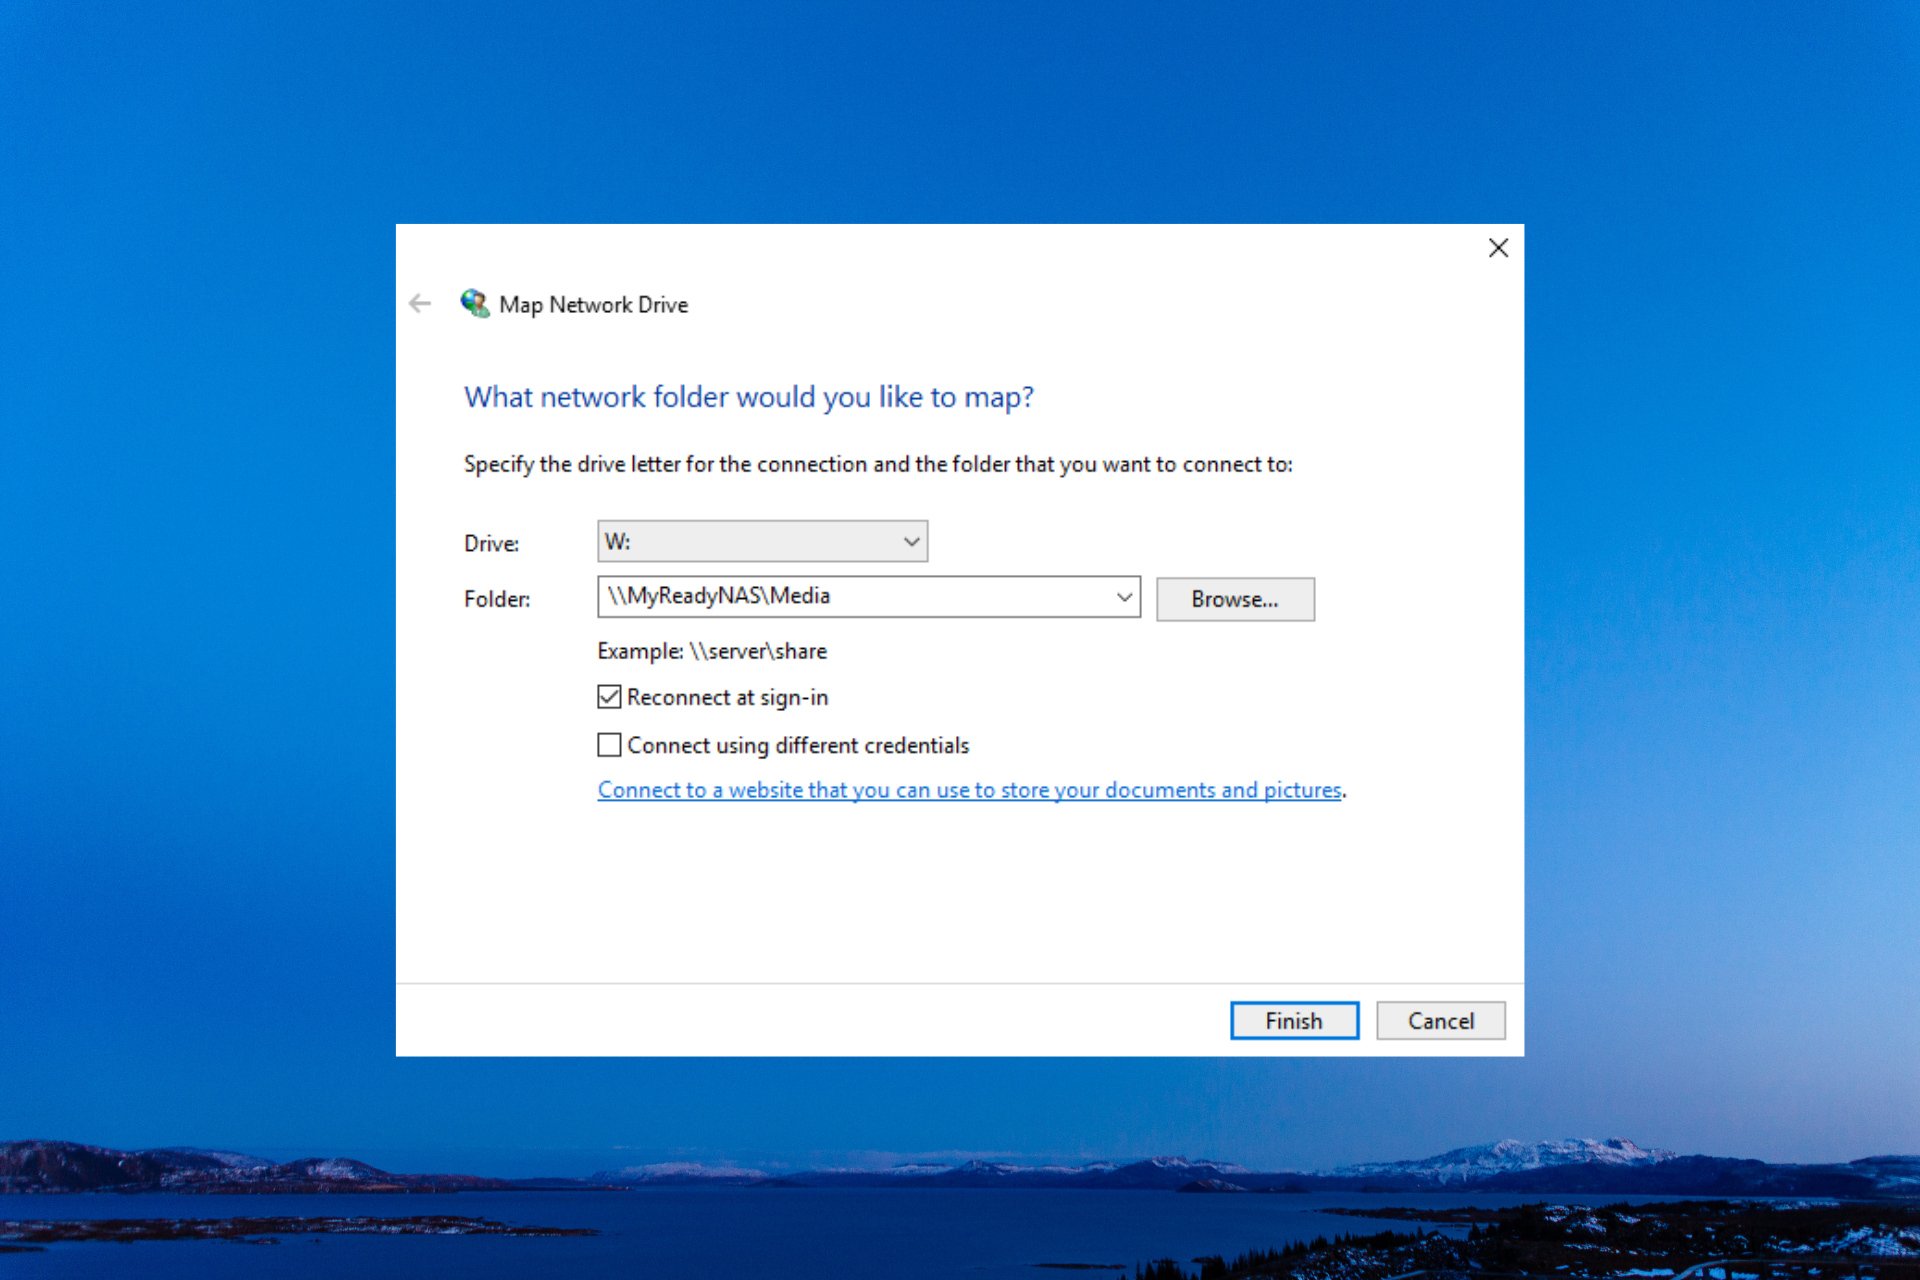
- In the Drive list, choose a letter for the new drive. Any available letter will work just fine.
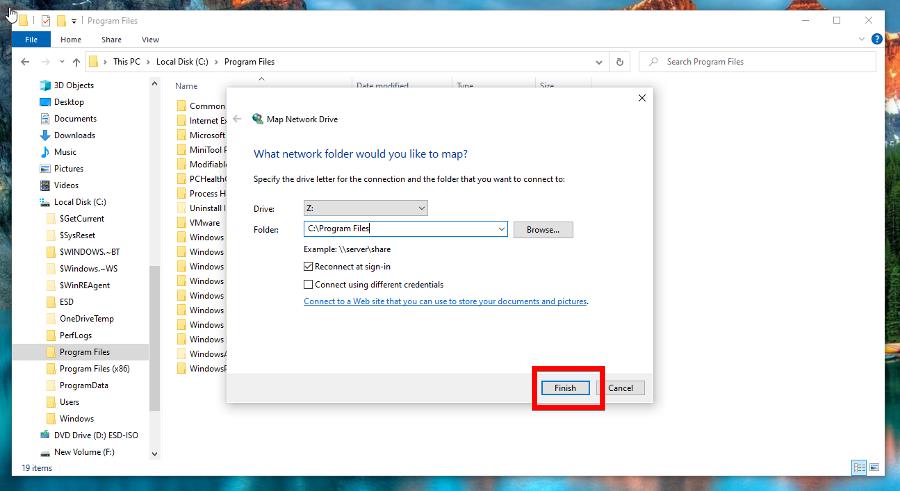
- In the Folder box, you can either type in the path or click Browse to locate the folder.

- Once you’ve added a folder, click Finish.


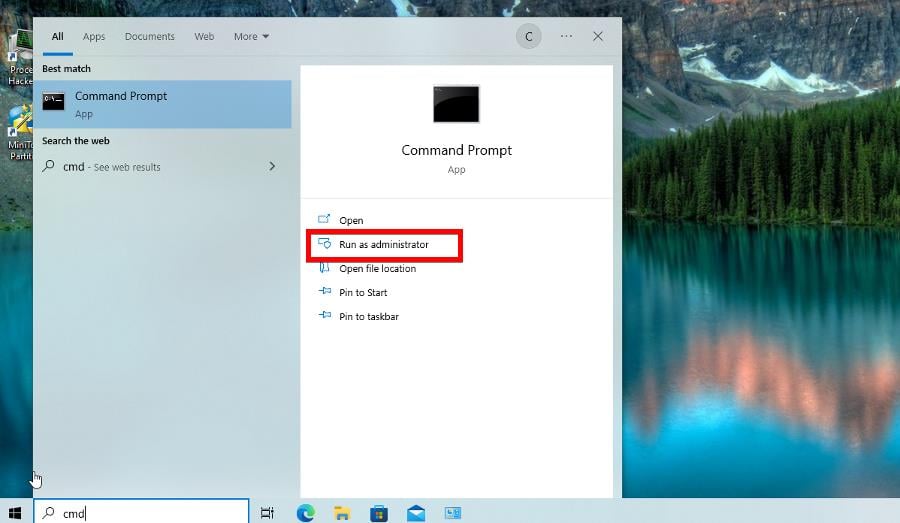
2. Map a network drive via Command Prompt
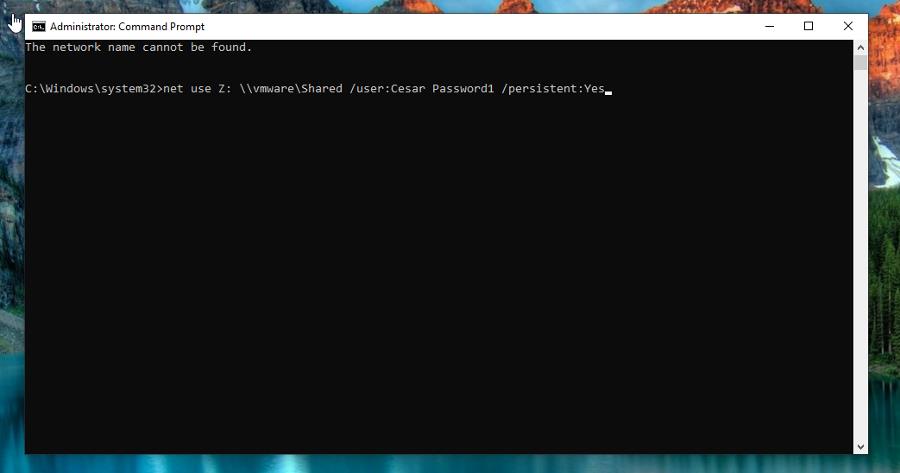
- Type cmd into the Windows 10 search bar. Click Run as administrator when Command Prompt appears.

- To map a drive, you will need to follow a net use DRIVE: PATH command where DRIVE indicates the drive letter and PATH indicates the folder. For example
net use Z: \\vmware\Shared
- You can add your credentials by adding your drive username and password to the command. For example, you can enter
net use Z: \\vmware\Shared /user:Cesar Password1 - You should also enter the persistent swtich to make sure the connection is constant such as
net use Z: \\vmware\Shared /user:Cesar Password1 /persistent:Yes - To remove a connection, run the following command:
net use Z: /delete

3. Map a network drive via PowerShell
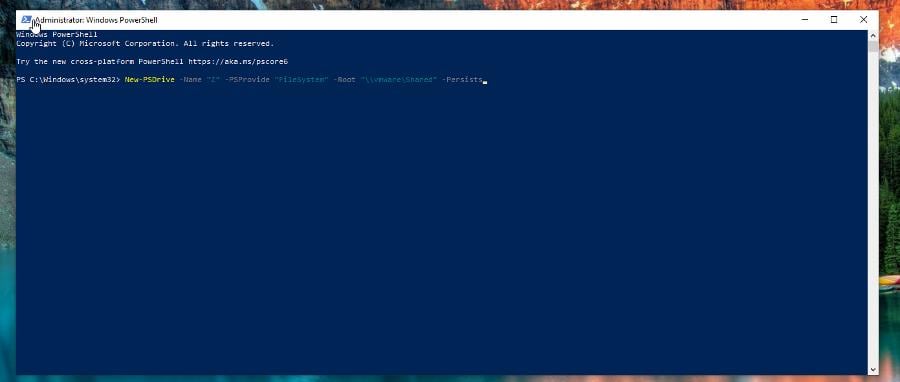
- Type in powershell into the Windows 10 search bar. Select Run as administrator.

- In the command line, enter the following:
New-PSDrive -Name "DRIVE-LETTER" -PSProvide "FileSystem" -Root "\\PATH" -Persists - Replace DRIVER-LETTER with the actual letter of your drive and PATH with the drive you want to add. In the image below is an example.


4. Use the Group Policy Editor
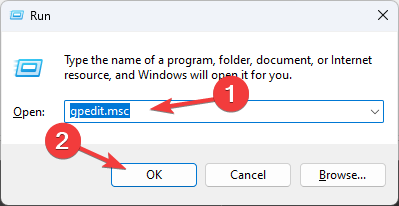
- Press Windows + R to open the Run console.

- Type gpedit.msc and click OK to open Group Policy Editor.
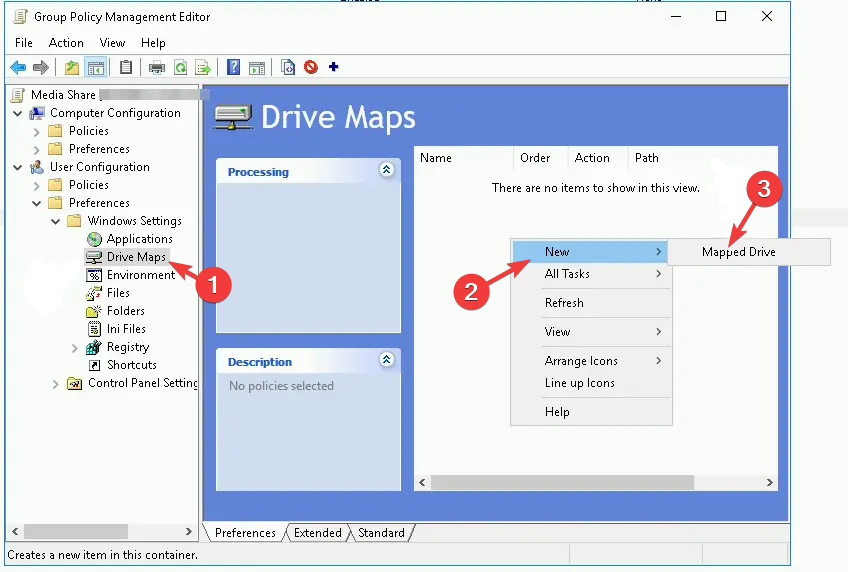
- Navigate to this path:
User Configuration\Preferences\Windows Settings\Drive Maps - Right-click the space in the right pane, choose New, then Mapped Drive.

- In the New Mapped Drive Properties window, choose the drive letter, network location, and other options accordingly.
- Click OK to save the changes.
And that’s pretty much the gist of it. Once you’re done, the newly mapped drive will appear in the File Explorer under the This PC section.
You can remove the mapped drive by right-clicking the drive in File Explorer and then selecting Disconnect. If you have any suggestions or guides you’d like to see, comment below.
Still having issues? Fix them with this tool:
SPONSORED
If the advices above haven't solved your issue, your PC may experience deeper Windows problems. We recommend downloading this PC Repair tool (rated Great on TrustPilot.com) to easily address them. After installation, simply click the Start Scan button and then press on Repair All.